Creating an Amazon seller account in 2026 takes a few hours of form filling plus about three business days for identity verification. You start at sell.amazon.com, create a login, then move through five screens: business information, seller information, billing, store details, and identity verification. At the end you are on either the $39.99 a month Professional plan or the $0.99 per item Individual plan.
The biggest cause of delays is not Amazon. It is details that do not match across your documents: a name spelled one way on your ID and another way on your bank account. Prepare everything below first and most approvals sail through.
Registration screens
Business, seller, billing, store, and verification. A few hours if your documents are ready.
Identity verification
Business days, after you submit. Manual document reviews can stretch it to five.
Professional plan
Or $0.99 per item on the Individual plan. You can switch plans any time after setup.
What you need before you start
Amazon publishes an exact list, and gathering it first is the difference between a one-sitting registration and a week of back and forth. Everything must match, letter for letter, across documents.
The 2026 registration checklist
- 1Government-issued photo ID (passport or driver’s license), not expired.
- 2A business email address, ideally separate from your personal Amazon shopping account.
- 3A phone number that can receive SMS or calls for verification codes.
- 4An internationally chargeable credit card: Visa, Mastercard, Amex, Discover, Diners Club, or JCB.
- 5Bank account and routing number, held in your name or your business’s name.
- 6Proof of address dated within the last 180 days: a bank statement, credit card statement, or utility bill.
- 7Tax information: your SSN as an individual, or EIN for a registered business.
- 8If you are incorporated: your business license or formation documents, plus your state company registration number.
First decision: Individual or Professional plan?
The math is simple: the Individual plan charges $0.99 per item sold, so at 40 items a month you have already paid for the $39.99 Professional plan, without getting any of its tools. If you plan to advertise, use FBA at volume, or claim new seller incentives, start Professional.
| What you get | Individual | Professional |
|---|---|---|
| Monthly fee | $0 | $39.99 |
| Per item sold | $0.99 | $0 |
| Amazon Ads (Sponsored Products) | No | Yes |
| Bulk listing, reports, API access | No | Yes |
| Brand tools (A+ Content, Stores) | No | Yes, with Brand Registry |
| New Seller Incentives | No | Yes, over $50K available |
| Best for | Testing, under 40 items/mo | Any serious launch |
You can switch or cancel the plan any time after registration in Settings, so nothing here is permanent. Referral fees apply on both plans: for most categories they run 8 to 15% of the sale price, with a $0.30 minimum.
Start the signup at sell.amazon.com
Go to sell.amazon.com and click Sign up. On the next screen, click Create your Amazon account, then enter your name, email, and a password. Amazon emails you a one-time code to confirm the address.
What the first screen asks for. A US-created account lets you sell in the US, Canada, Mexico, and Brazil.
Two email rules worth knowing. Amazon recommends an address different from your personal shopping account so buyer and seller identities stay separate. But if your brand already uses Brand Registry, Amazon Ads, or Vendor Central, register with that same email and password so the accounts link together.
The five registration screens
Once your login exists, Seller Central walks you through five sections. Here is each screen and exactly what to enter.
The five sections inside Seller Central registration
Amazon’s progress tracker as it appears during signup: each section unlocks the next.
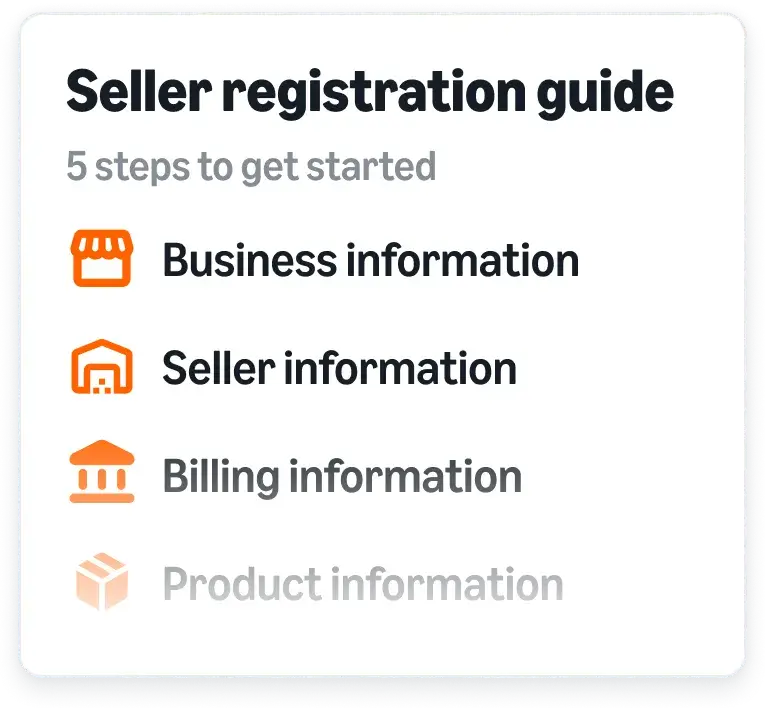
Image: sell.amazon.com, Amazon’s seller registration guide.
Screen 1: Business information
Selling as yourself? Choose None, I am an individual, and Amazon shortens the rest of the flow.
You do not need an LLC to sell on Amazon. Plenty of sellers start as individuals with an SSN and a personal bank account, then incorporate later. If you do register as a business, the most common tripwire on this screen is the company registration number: it is the number on your state formation filing, not your EIN.
Screen 2: Seller information
Enter these with your government ID open next to you. Amazon checks character by character.
A beneficial owner is anyone who owns more than 25% of the business’s shares or voting rights. If nobody clears that bar, a senior manager counts. If you are registering on behalf of a company you do not own, Amazon may later ask for a letter authorizing you to act for it.
Screen 3: Billing
The bank account must be in your name or the business’s name. The credit card can be anyone’s, but it must accept international charges.
No US bank account? You can still register: Amazon Currency Converter pays your proceeds into supported non-US bank accounts in local currency. The card on file is what gets charged the $39.99 subscription once your Professional plan activates.
Screen 4: Store and product information
Do not agonize over the store name. It does not have to match your legal name and you can change it later in Settings.
Product IDs matter more than the store name: Amazon uses GTINs (usually UPCs) to match your items to detail pages, and legitimate UPCs come from GS1, not cheap third-party resellers. If you own a pending or registered trademark, say so here, then enroll it after activation using our Brand Registry setup guide. It is free and unlocks A+ Content, Stores, and brand protection.
Screen 5: Identity verification
On the video call an Amazon associate compares your face and documents on camera. Quiet room, good lighting, original documents in hand.
This is where most rejections happen, and almost all of them are photo quality. Use high-quality color scans or photos showing all four corners with legible text. No screenshots, no cropped edges, no glare, nothing expired, and signed where a signature belongs. If your documents are clean and consistent, verification usually clears in three business days or less.
From signup to selling: the realistic timeline
With documents prepared in advance. Manual reviews or mismatched details add days.
Setting up an account because you are launching a product? We build Amazon channels end to end: account, catalog, creative, and ads. Ask us for a free launch plan.
Talk to AmplifyrWhat happens after you submit
Amazon reviews everything and emails you the result, usually within three business days. Watch your inbox and Seller Central notifications: if anything needs a second look, Amazon requests specific documents there. In some regions Amazon also mails a postcard with a verification code to your address; enter the code in Seller Central to finish address verification.
If verification fails, the email tells you which document was the problem. Fix that one thing and resubmit. Do not open a second account. Duplicate registrations after a rejection are one of the fastest ways to get both accounts deactivated.
Approved? Do these five things first
Your first week inside Seller Central
Amazon’s own getting-started checklist picks up where registration ends.
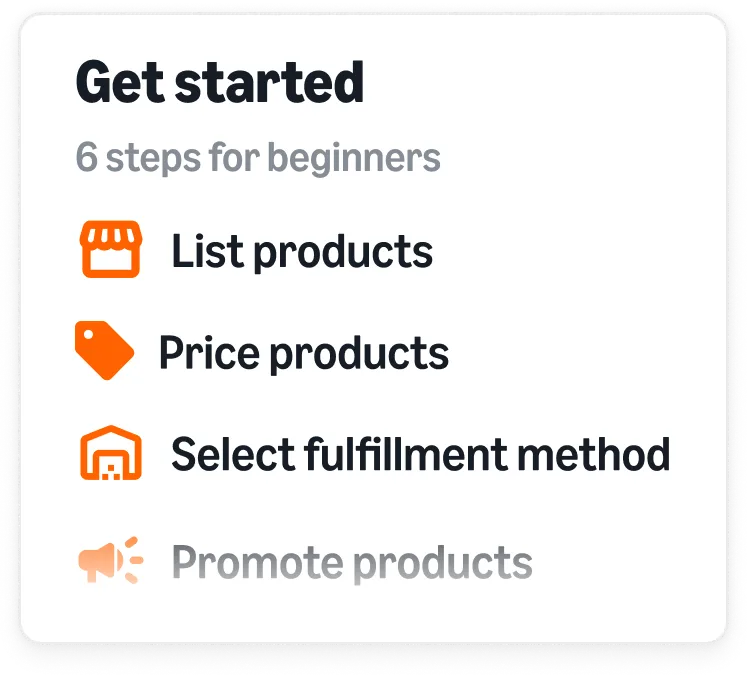
Image: sell.amazon.com.
- Complete the tax interview and turn on two-step verification. The tax interview (your W-9 as a US seller) takes five minutes in Settings and is required before payouts flow.
- Claim your New Seller Incentives. Professional sellers get access to over $50,000 in credits and bonuses, including 10% back on your first $50,000 in branded sales (Brand Registry required) and $100 off inbound shipments. These are aimed at your first 90 days, so claim them before you scale, not after.
- Enroll your trademark in Brand Registry. Free, and it gates almost every brand tool worth having. Full walkthrough in our Brand Registry guide.
- Price before you list. Run your product through Amazon’s Revenue Calculator so referral and FBA fees are in the price from day one, not discovered in month two.
- Then launch properly. Listing images, keywords, and an ad plan decide your first 90 days. Start with our product launch strategy guide, the listing image stack, and PPC strategy for new brands.
Two incentives worth claiming on day one
Part of Amazon’s New Seller Incentives package for Professional accounts.


Images: sell.amazon.com. Amazon reports sellers who use the New Seller Guide in their first 90 days average roughly 6x more first-year sales.
Check the math before your first listing goes live
Amazon’s free Revenue Calculator compares FBA against shipping orders yourself, fee by fee.
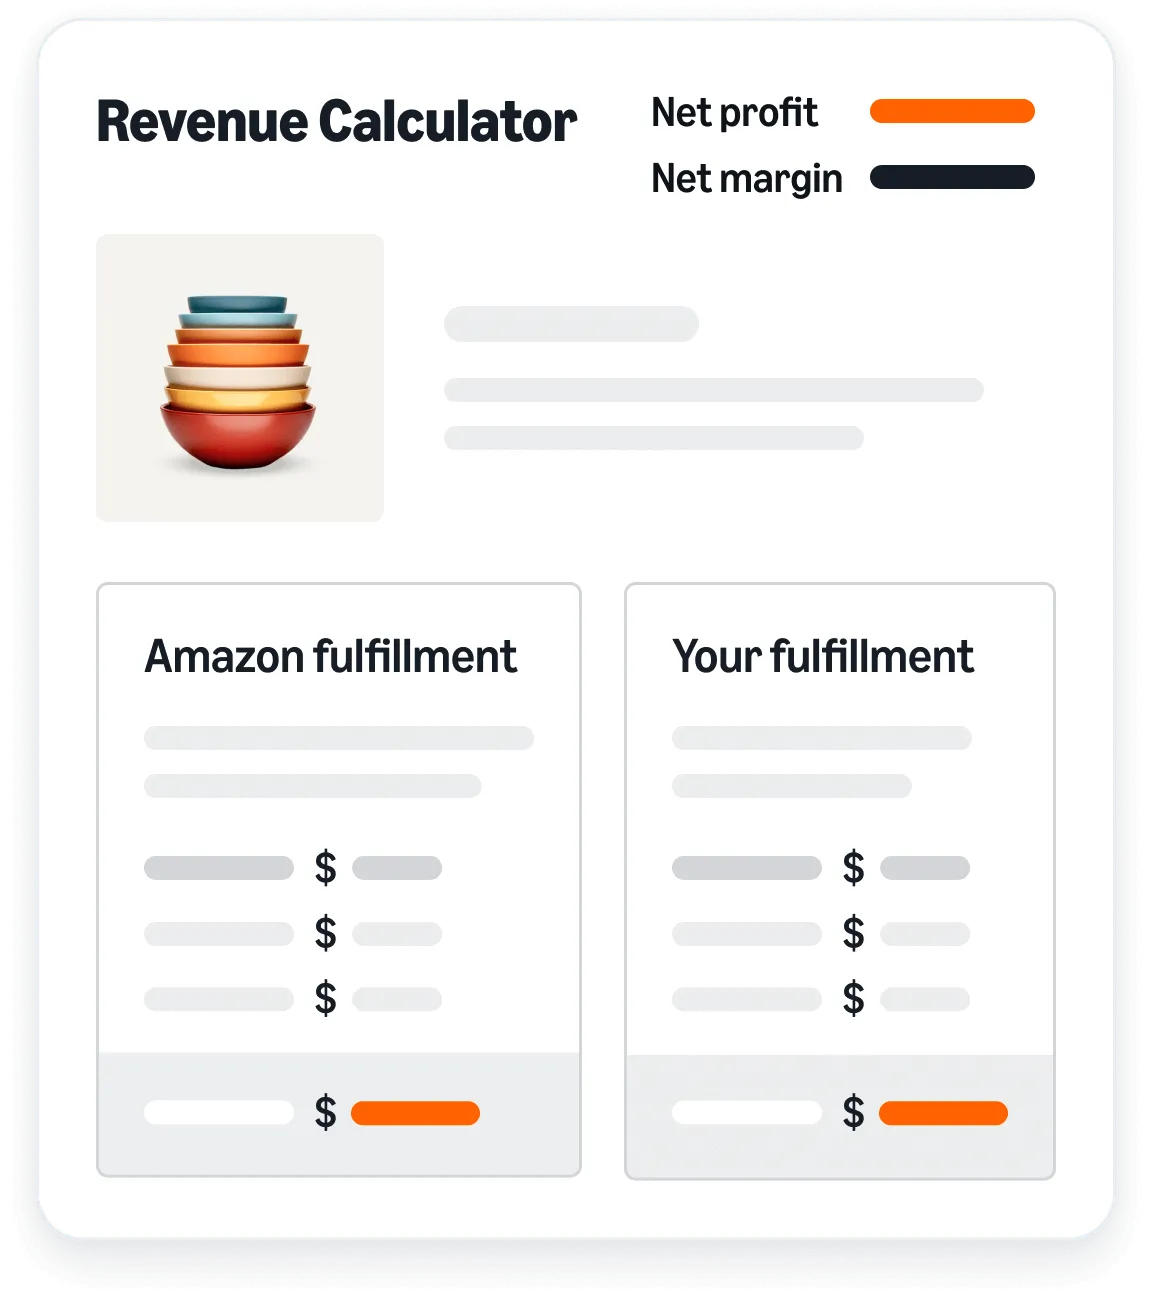
Image: sell.amazon.com.
The mistakes that delay approval
Five ways new sellers get stuck
- 1Details that do not match. Name, address, and business name must be identical across your ID, bank, and the registration form, down to abbreviations.
- 2Screenshots instead of scans. Amazon rejects screenshots, cropped edges, glare, and blur. Full-page color scans only.
- 3Stale or expired documents. An expired ID or a proof of address older than 180 days flags the application instantly.
- 4Missing the video call. If Amazon schedules one, treat it like a visa interview: on time, original documents in hand.
- 5Opening a second account after a rejection. Fix and resubmit the first one. Duplicates get both deactivated.
Frequently asked questions
Do I need an LLC to create an Amazon seller account?
How long does it take to create an Amazon seller account in 2026?
How much does it cost to open an Amazon seller account?
Can I register without a US bank account or from outside the US?
What happens if my identity verification fails?
Launching on Amazon this year?
We set up, build, and run Amazon channels for consumer brands: account, catalog, creative, and advertising. Tell us what you are launching and we will map out the first 90 days, free.
Get your free launch plan →